Chapter 06 – Part 05: STRENGTH DEVELOPMENT & LIFTING TECHNIQUES
06
CHAPTER
STRENGTH DEVELOPMENT & LIFTING TECHNIQUES
Part 5 : Body Weight Strength Exercises
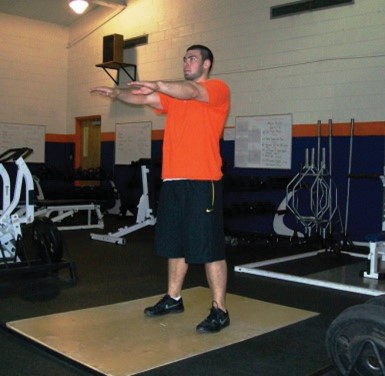
Body Weight Squat
Start with feet slightly wider than shoulder width, toes angled slightly out and arms extend in front at shoulder height for balance
Push the hips back, sticking the butt out, keeping chest forward to balance out body
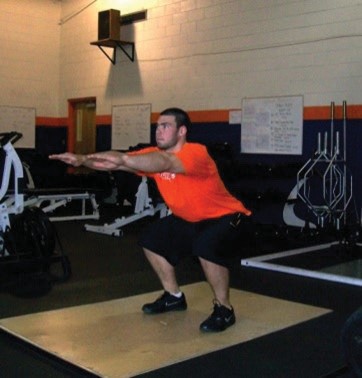
Lower the hips down and back with the feet flat and the pressure on the heels
Lower the hips down and back until the hips are lower than the knees (or top of the thigh is parallel to the ground)
Upon reaching the lower point of the descent, drive back up through the heels while also driving the hips forward to keep the chest up
Figure 6.169: Body Weight Squat Top Position
Figure 6.170: Body Weight Squat Bottom Position
Video 6.48
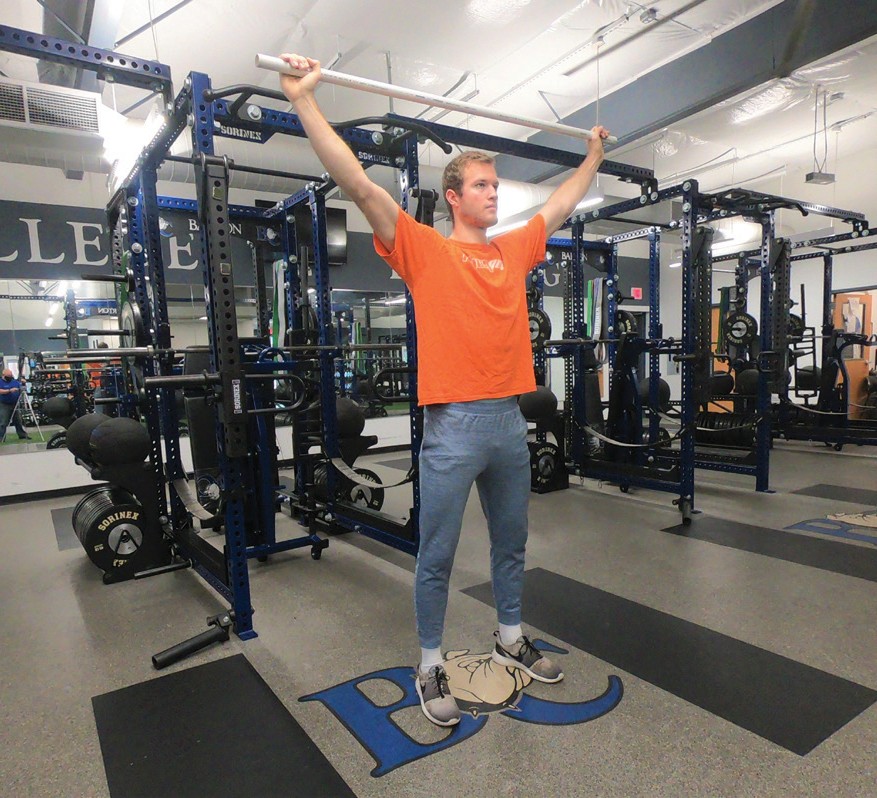
Overhead Squat
Start with dowel, stick or lightweight bar to learn form
With a snatch-width grip, place the bar overhead, slightly behind or directly above the ears
Raise arms to shoulder height
Bend elbows to 90 degrees
Maintaining that hand width, grab bar with over and grip
Extend arms as bar is raised overhead, cock wrist back
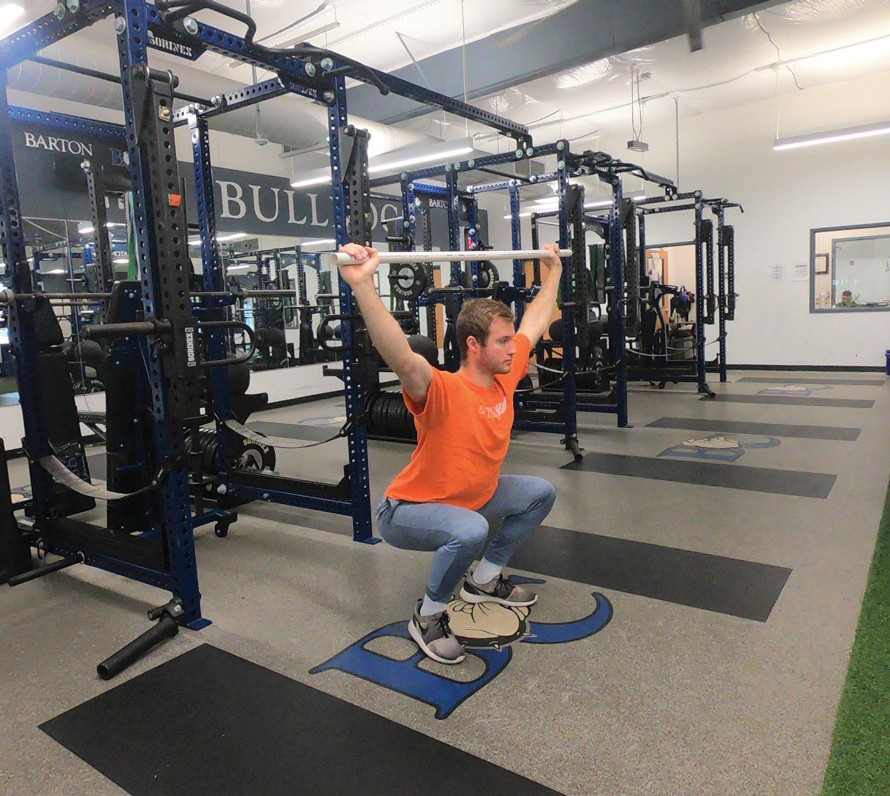
While performing the lower body squatting movement, gradually rotate the bar back as you go down
Overhead squat can build flexibility and reveal tightness in shoulder, ankle and hip joints
Figure 6.171: Body Weight Overhead Squat Top Position
Figure 6.172: Body Weight Overhead Squat Bottom Position
Video 6.49
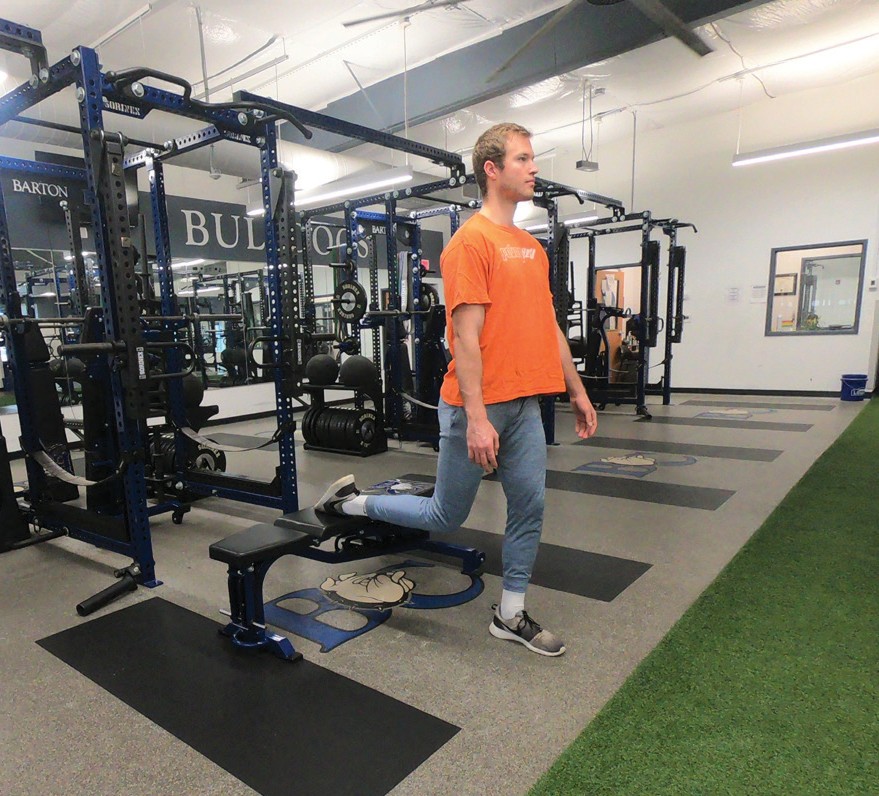
Rear Leg Elevated Split Squat
Support the rear leg on something like a bench in a comfortable position off the ground
With the rear leg supported, position the front foot far enough forward that when the back leg is lowered to the floor, the front knee does not extend out in front of the toes
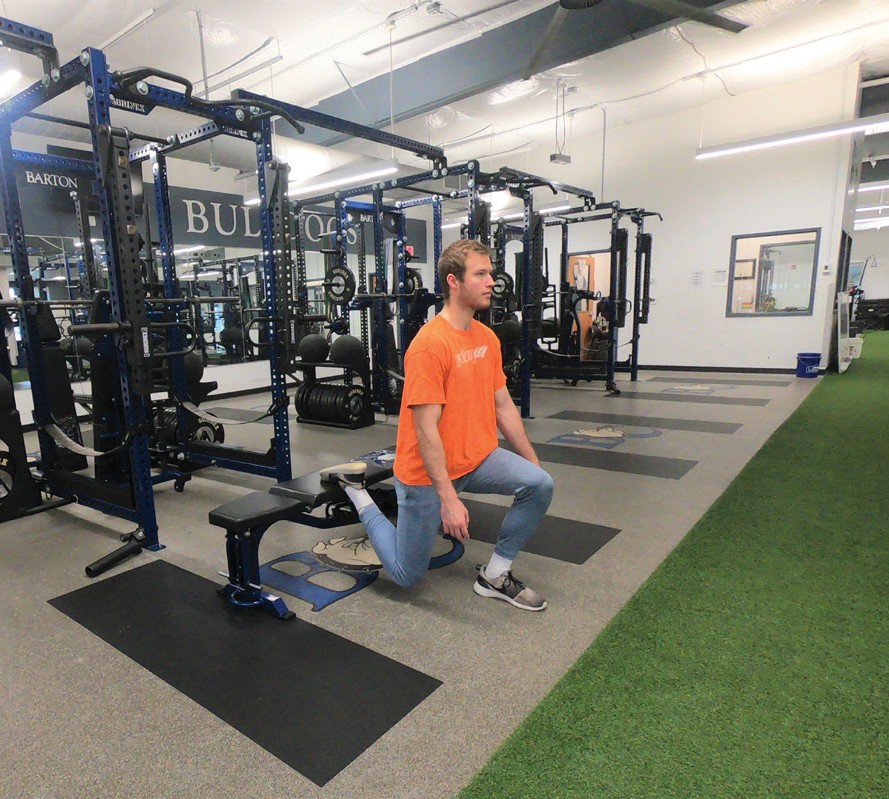
Bending the front knee, drop the hips straight down into 90-degree bend of both front and back legs
Push up on the front leg, extending the knees and hips back to the starting position
If needed, something like a wooden dowel can be used for balance; just be sure to keep the emphasis on the leg muscle
Figure 6.173: Body Weight Rear Elevated Squat Top Position
Figure 6.174: Body Weight Rear Elevated Squat Bottom Position
Video 6.50
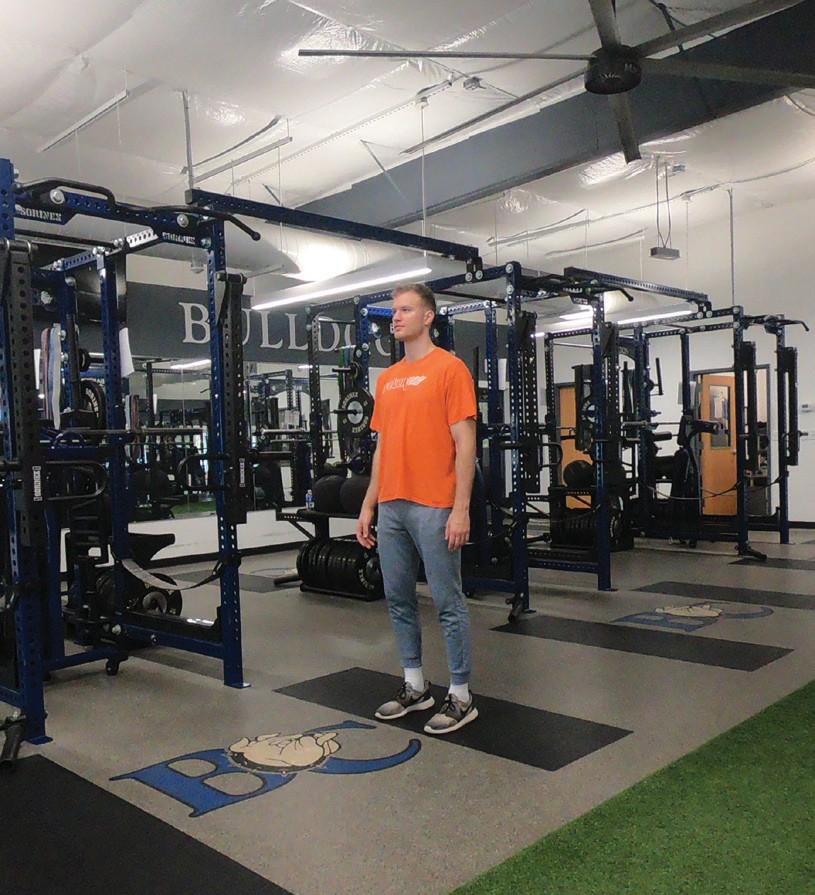
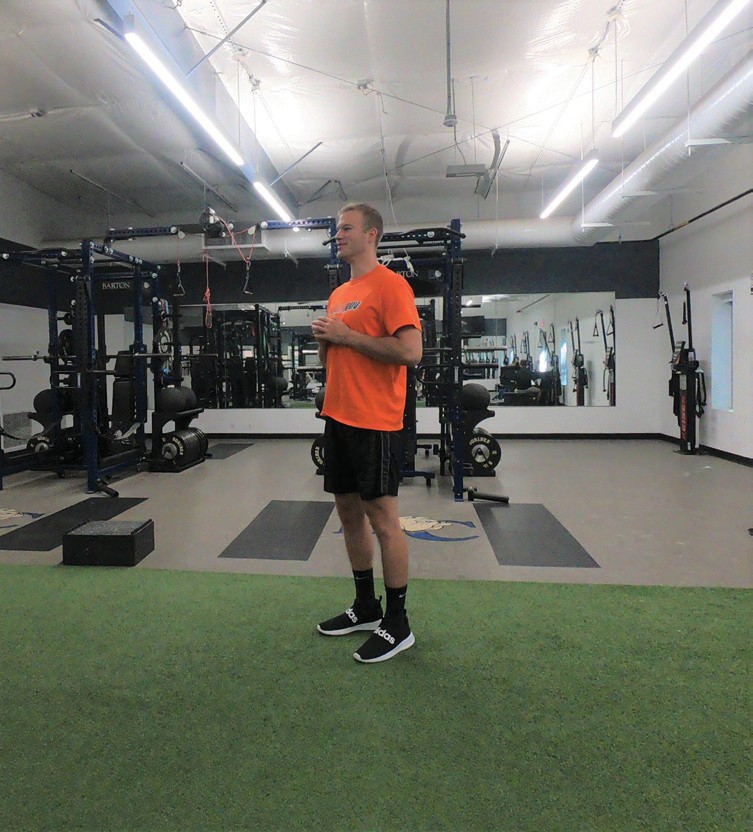
Front Lunge
Start with the feet underneath the hips and lined up evenly with each other
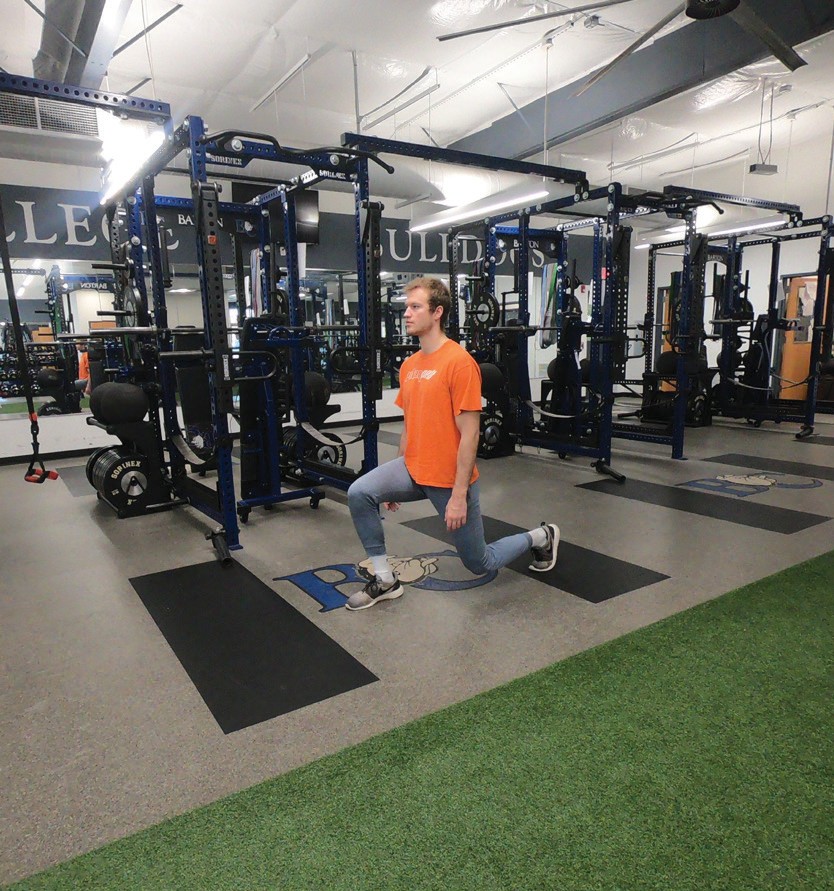
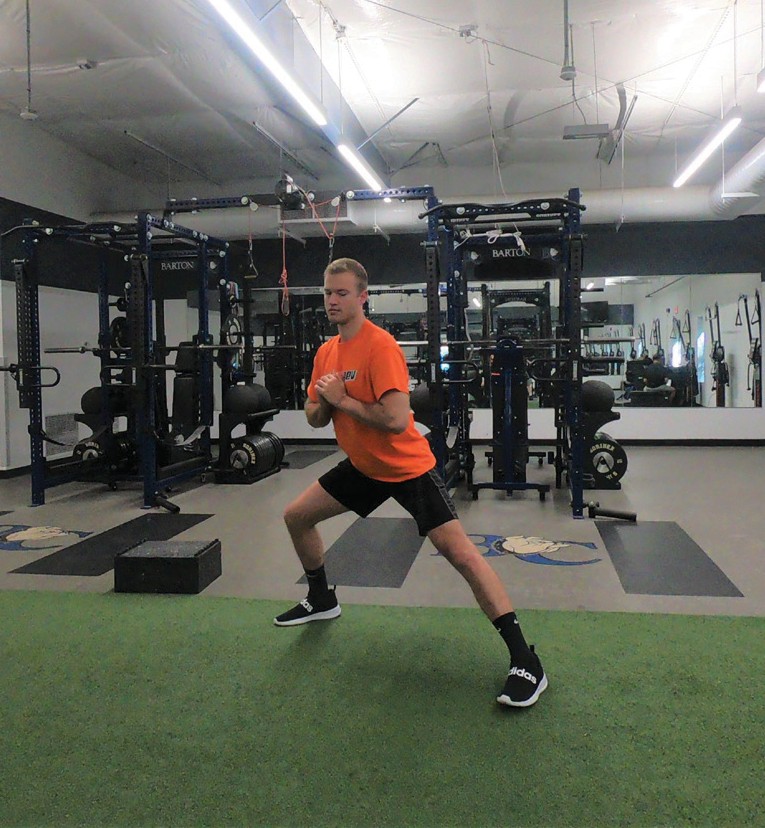
Take an exaggerated step forward
Drop the hips straight down into 90- degree bend of both front and back legs
Proper stride length places front knee over the ball of the foot
Too long a stride places knee over heel or back leg is extended past 90 degrees
Too short a stride places front knee in front of toes
Drive through the front heel and pull with the back foot to return to the starting position
Alternate legs throughout the set
Figure 6.175: Body Weight Front Lunge Starting Position
Figure 6.176: Body Weight Front Lunge Finishing Position
Video 6.51
Side Lunge
Start with feet shoulder width apart
Take an exaggerated step out to the side, keeping toes pointed forward
Drop hips down, bending knee of lead leg to 90 degrees
As you drop down, sit hips back, leaning chest forward to balance out body
Trail leg is extended with slight knee bend
Push back off lead leg back to standing position
Alternate movement to both sides
Figure 6.177: Body Weight Side Front Lunge Starting Position
Figure 6.178: Body Weight Side Front Lunge Finishing Position
Video 6.52
Back Lunge
Start with the feet underneath the hips and lined up evenly with each other
Take an over-exaggerated step back, sitting back into the front heel until both front and back knees are bent at 90 degrees
Same stride length cues apply as front lunge
Push through the front heel, driving the hips forward and returning the back foot to the starting position
Figure 6.179: Body Weight Back Lunge Starting Position
Figure 6.180: Body Weight Back Lunge Finishing Position
Video 6.53
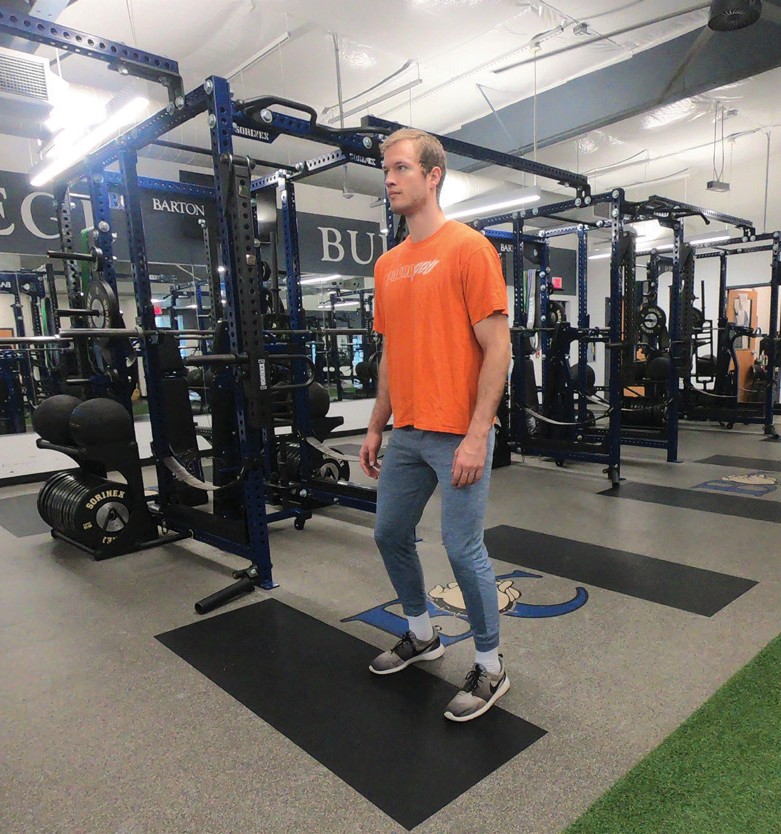
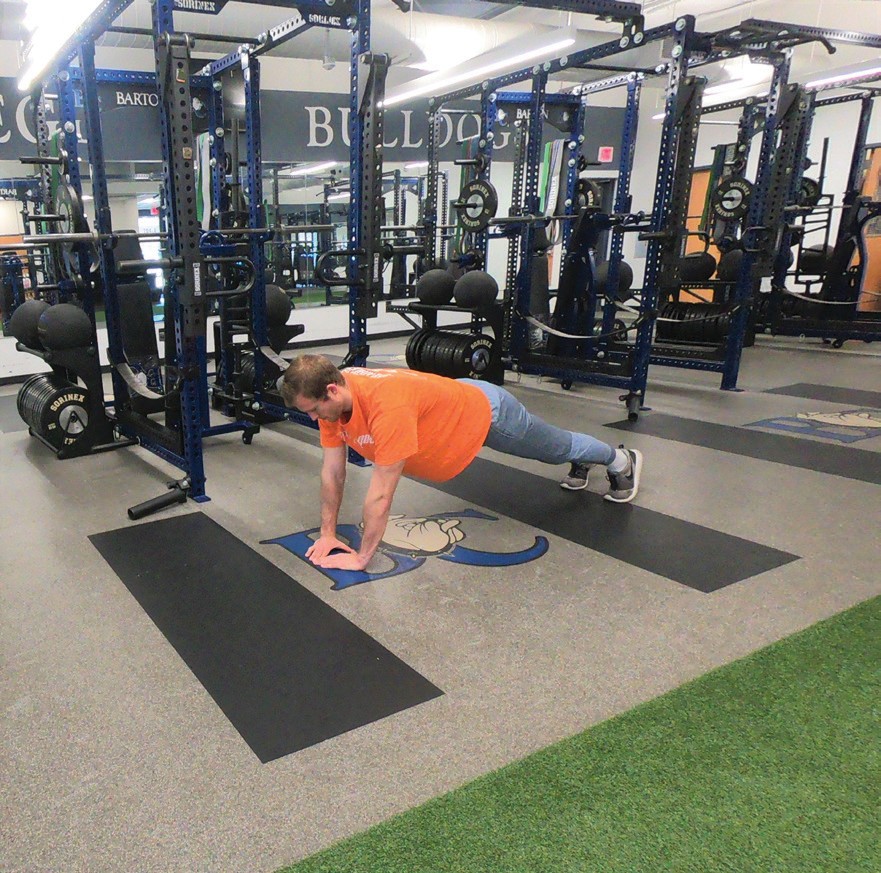
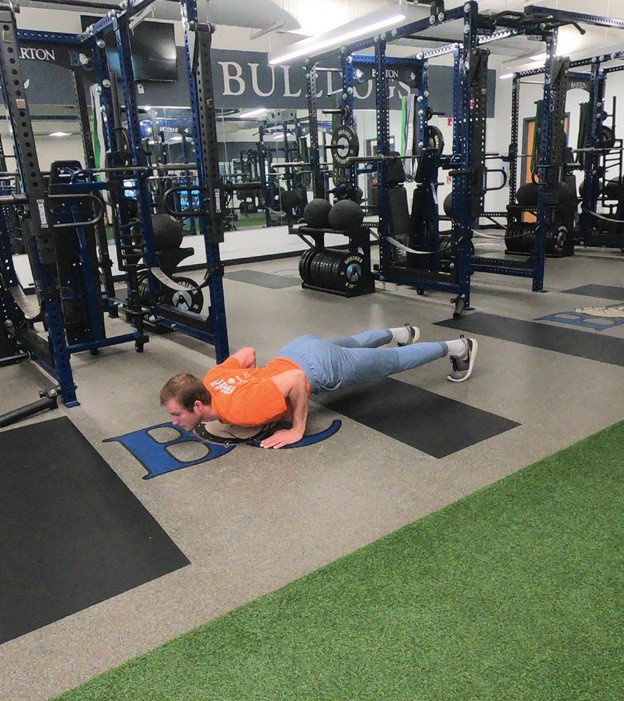
Push Up
Lie on the floor face down and place just outside shoulder width and your hands even with your chest.
Feet should be shoulder width apart, pressing through the toes.
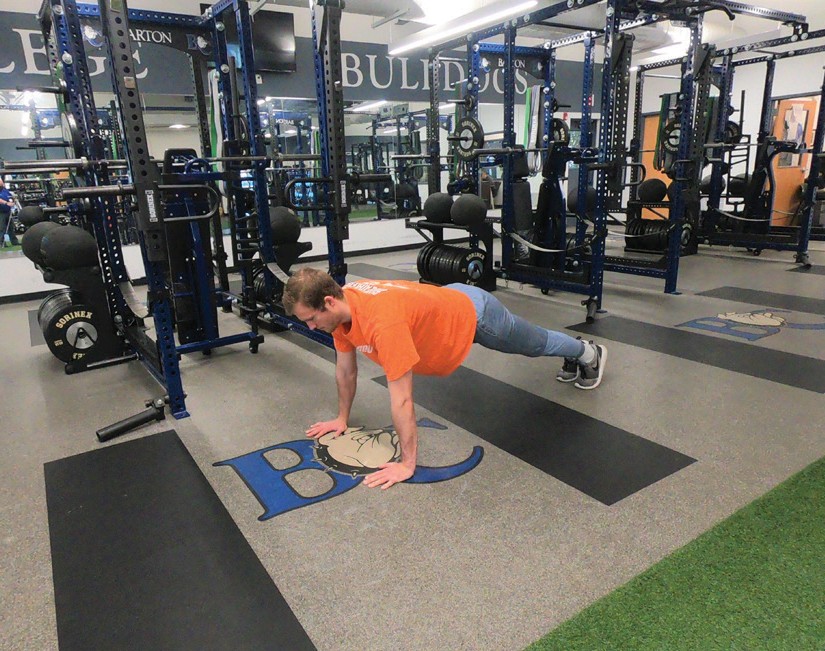
Now breathe out and press your upper body up to almost full extension (keep a slight bend in your elbows to avoid locking out joints) while squeezing your chest.
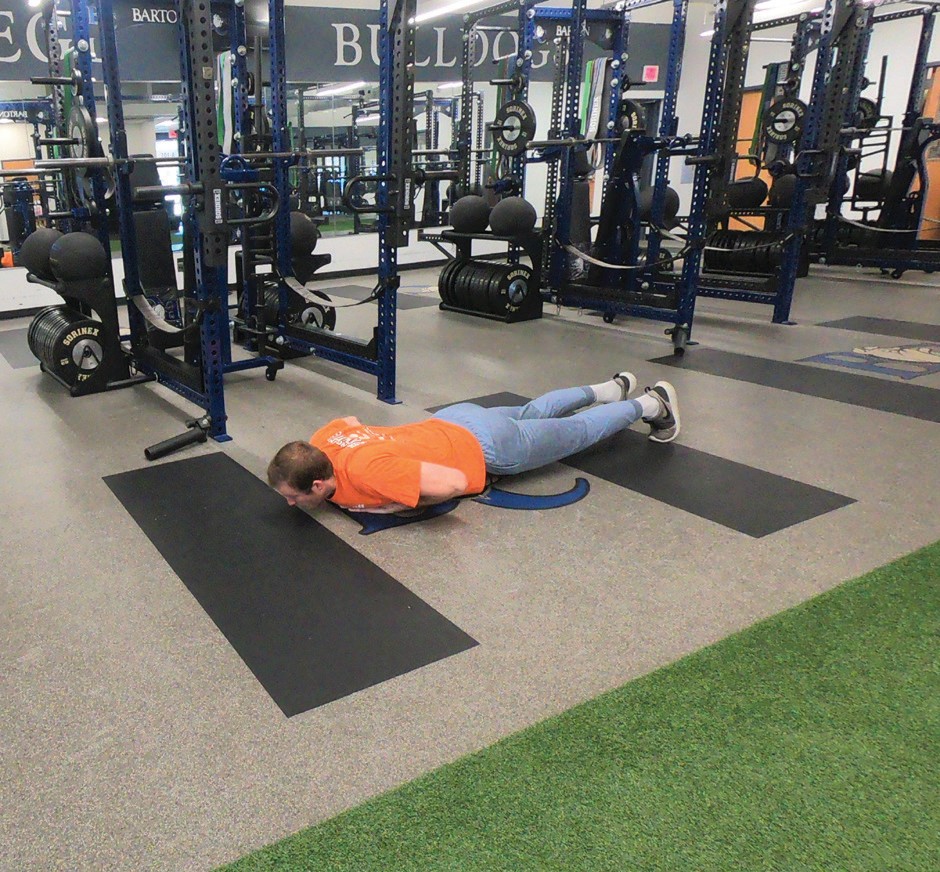
After a brief pause, lower yourself downward until your chest almost touches the floor as you inhale.
Pause without relaxing, then press yourself upwards and complete as many repetitions as desired. Keep the core engaged by maintaining proper plank body position, maintaining a straight line from the toes up through the shoulders, throughout movement.
Figure 6.181: Body Weight Push Up Starting Position
Figure 6.182: Body Weight Push Up Starting Position
Video 6.54
Basic Variations
Wall Push Up (lower strength option)
Place hands at chest height and perform push-ups at a comfortable body angle (less of an angle reduces the body weight being worked against)
Figure 6.183: Body Weight Wall Push Up Starting Position
Figure 6.184: Body Weight Wall Push Up Bottom Position
Video 6.55
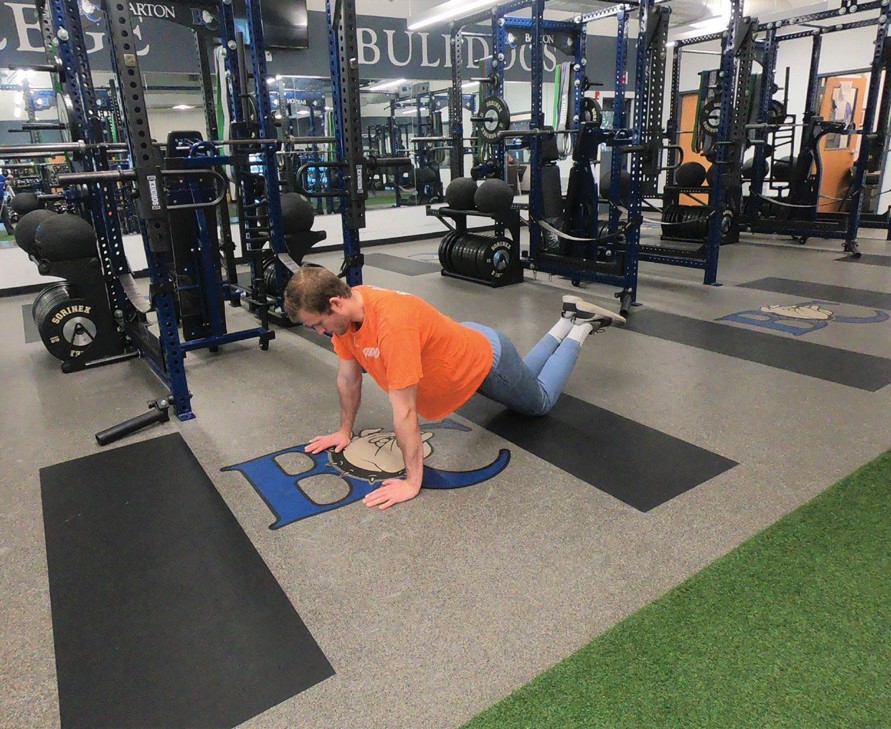
Modified Push Up (lower strength option)
Instead of using the toes as an anchor point, use the knees as the back pivot/anchor point. Keep the rest of the body in a good plank position maintaining a straight line from the knees up through the shoulders
Figure 6.185: Body Weight Modified Push Up Starting Position
Figure 6.186: Body Weight Incline Push Up Bottom Position
Video 6.56
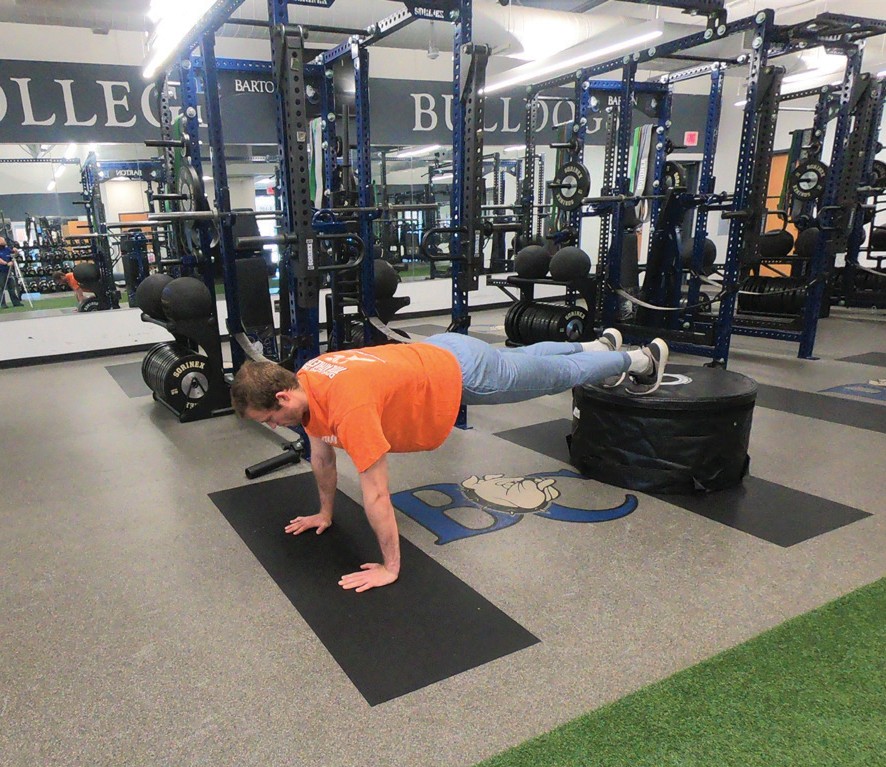
Incline Push Up (increased strength option)
Elevate the feet and maintain a good plank body position as you perform push-ups.
The higher the feet are, the more body weight resistance is pushed against. Highest level is the wall pushup where full body weight resistance is provided (body position also transfers emphasis to the shoulders, like a body weight shoulder press).
Figure 6.187: Body Weight Incline Push Up Starting Position
Figure 6.188: Body Weight Modified Push Up Bottom Position
Video 6.57
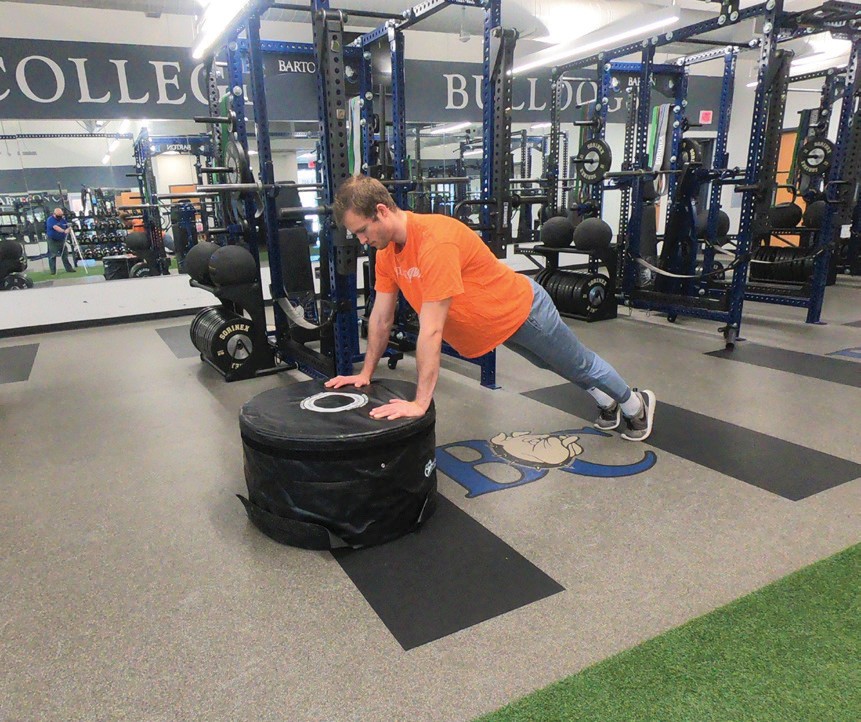
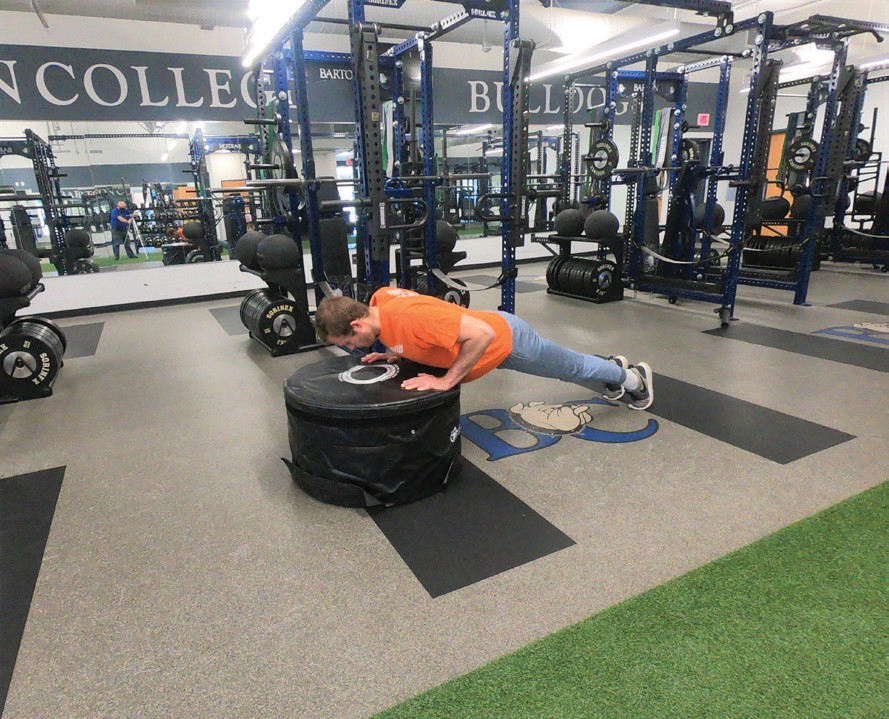
Hands Elevated Push Up (reduced strength option)
Place hands on object and perform push-ups at a comfortable body angle (as you reduce the incline, getting closer to a push up on the ground, the more body weight being worked against)
Figure 6.189: Body Weight Hands Elevated Starting Position
Figure 6.190: Body Weight Hands Elevated Bottom Position
Video 6.58
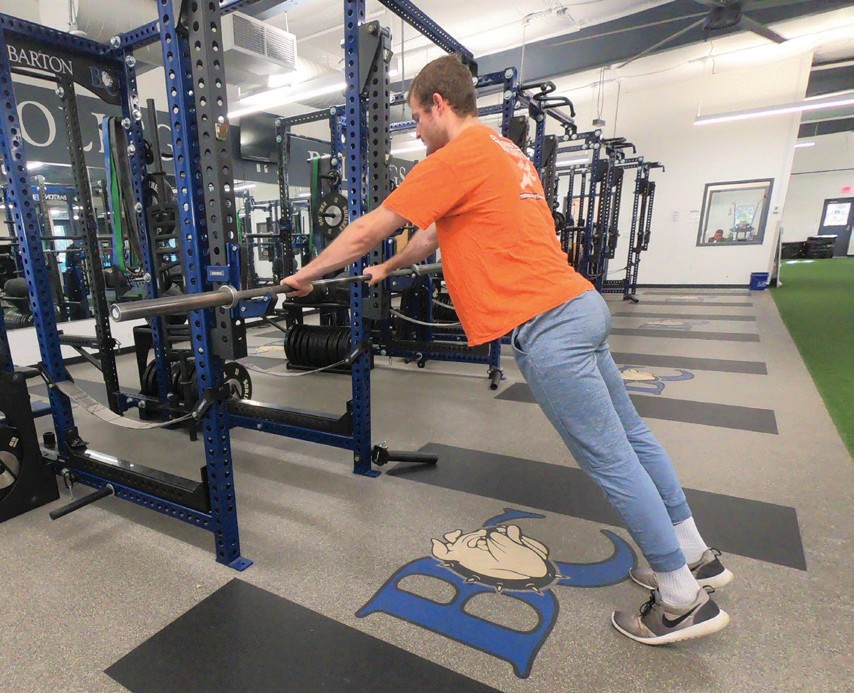
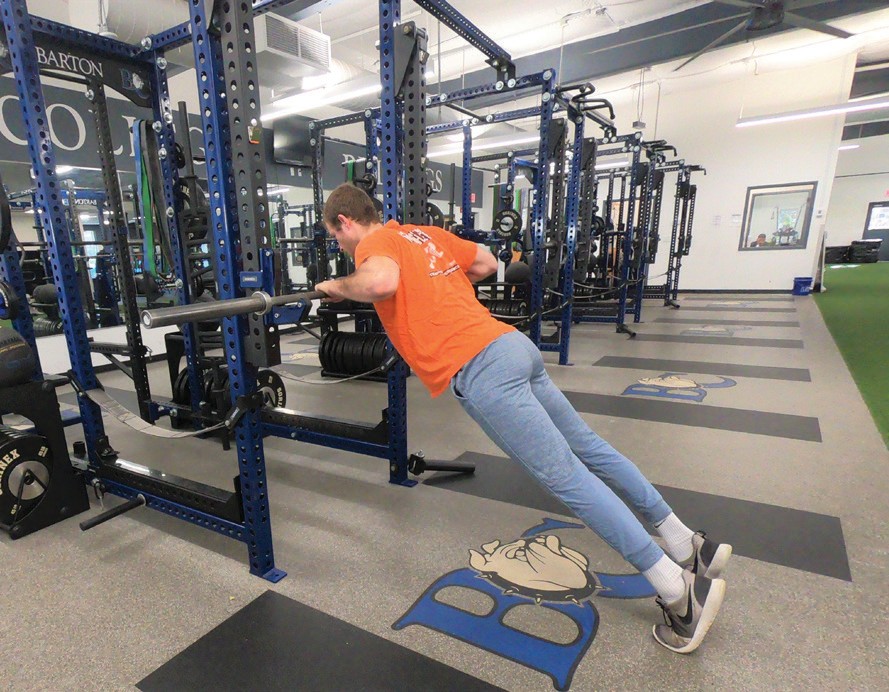
Bar Incline Push Up
Place hands on bar and perform push-ups at a comfortable body angle (as you reduce the incline, getting closer to a push up on the ground, the more body weight being worked against)
Figure 6.191: Body Weight Bar Incline Starting Position
Figure 6.192: Body Weight Bar Incline Bottom Position
Video 6.59
Diamond Push Up
Start with hands close together, with thumbs and index fingers touching to create a “diamond”
Narrowing the width of the hands places greater emphasis on the triceps as you lower the body down and press back up
Figure 6.193: Body Weight Diamond Push Up Starting Position
Figure 6.194: Body Weight Diamond Push Up Bottom Position
Video 6.60
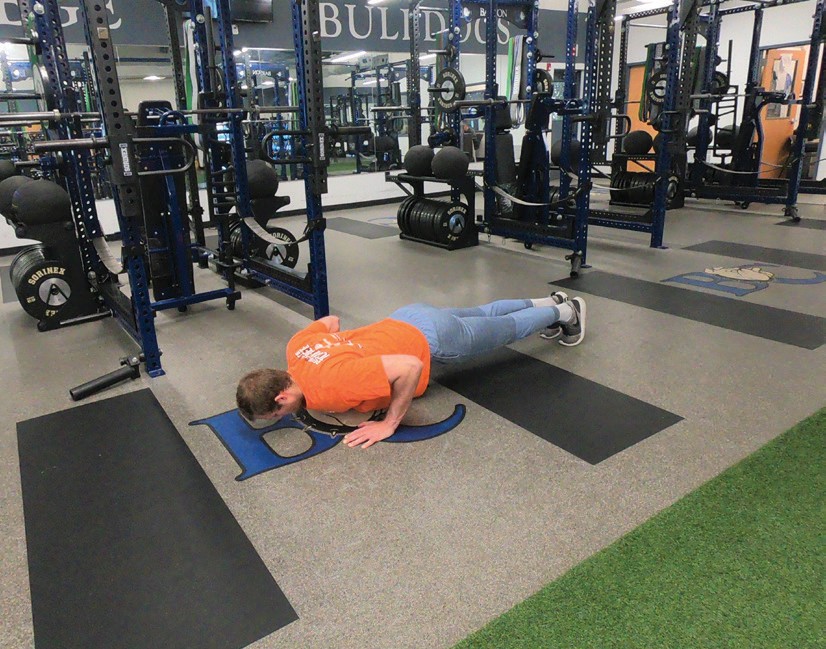
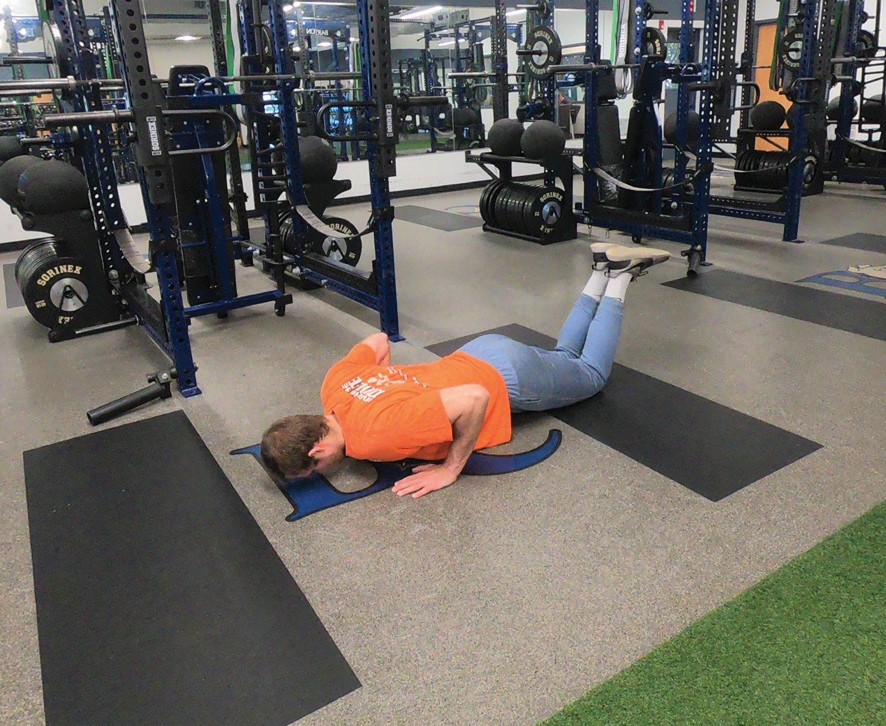
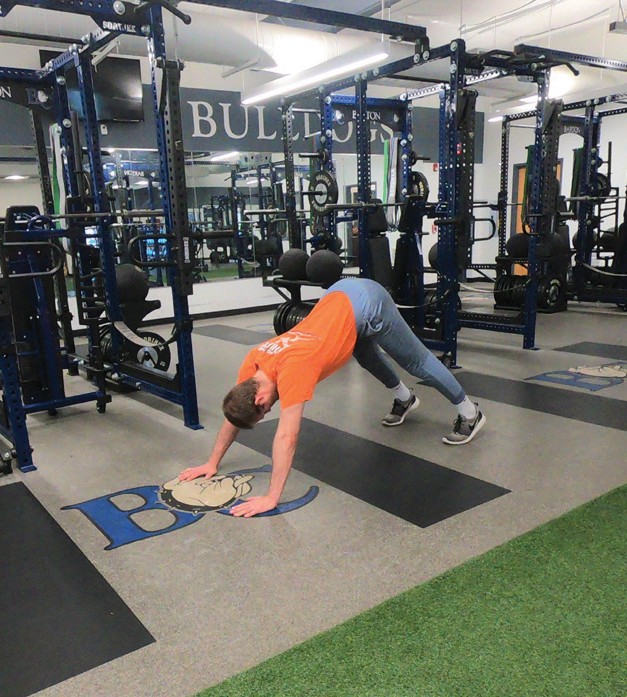
Dive Bomber Push Up (Rocking Push Up)
Start in a modified push up position with feet wide and hips raised to place the upper body at a forward incline.
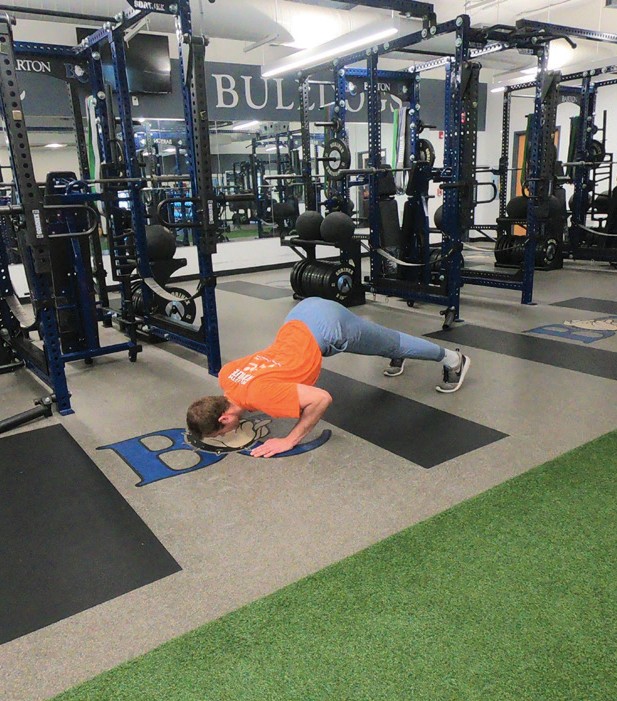
As you lower yourself, rock your upper body forward in a curved pattern bringing your chest close to the
Reverse the pattern to rock yourself back to the starting
Figure 6.195: Body Weight Dive Bomber Push Up Starting Position
Figure 6.196: Body Weight Dive Bomber Push Up Midrange Position
Figure 6.197: Body Weight Dive Bomber Push Up Bottom Position
Video 6.61
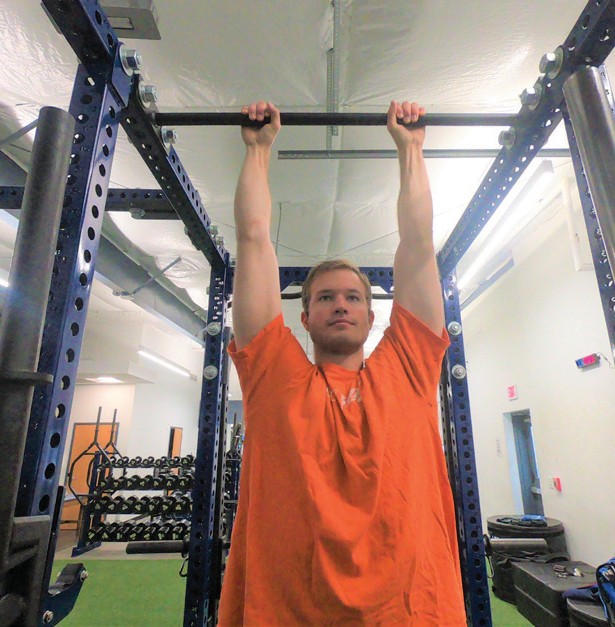
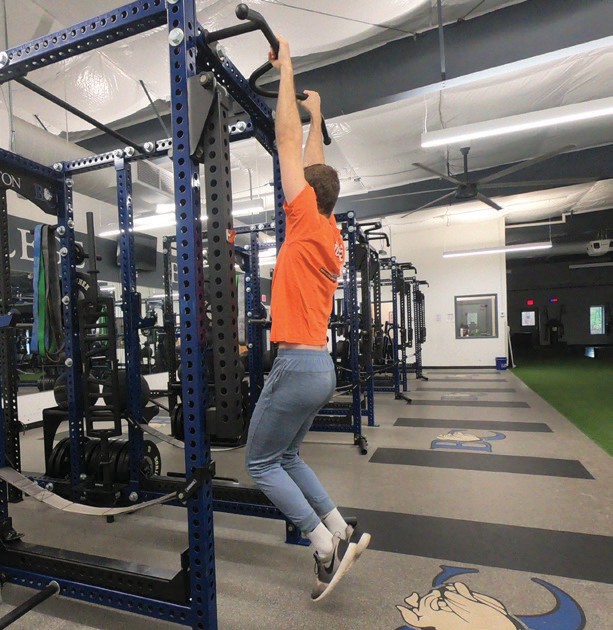
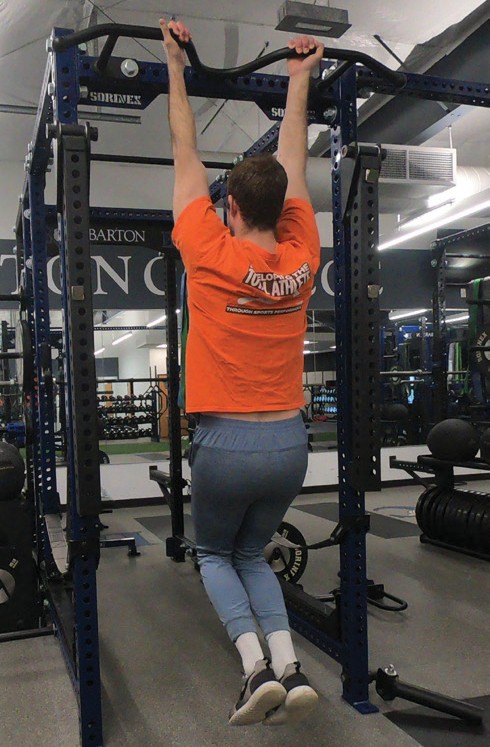
Pull Ups
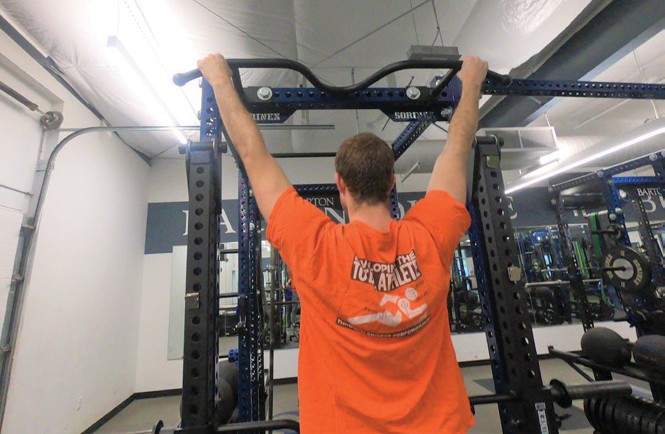
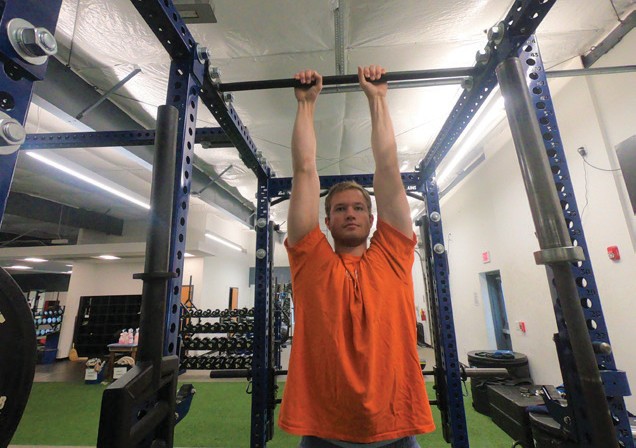
Using a bar that allows your body weight to hang with feet not touching the ground, grip the bar with an overhand grip (palms facing away), with hands outside the shoulders.
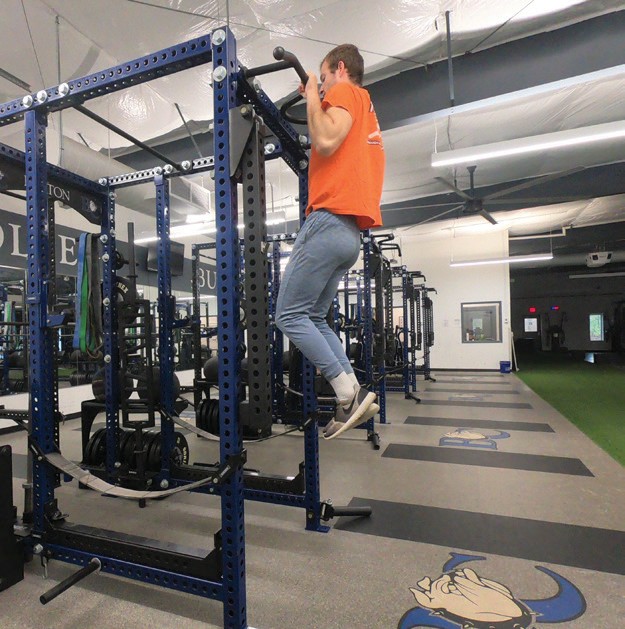
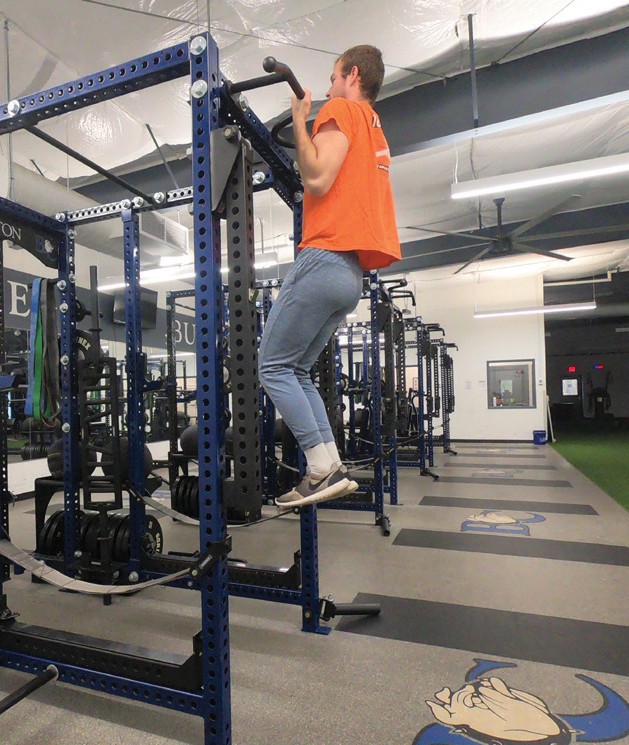
Using your back and biceps muscles, pull your body up so that your chin is above the bar
Concentrating on squeezing your back helps to engage the back muscles
Exhale as you pull yourself up and inhale as you lower yourself down to the starting position
The torso should remain in an upright position as you control your body through the lifting and lowering movements
Figure 6.198: Pull Up Grip
Figure 6.199: Pull Up Starting Position
Figure 6.200: Pull Up Top Position
Video 6.62
Pull Ups Variations
Chin Up
Reversing the grip, using an underhand (palms facing the body) grip is often referred to as a chin up.
Using an underhanded grip utilizes the biceps to a greater extent.
Figure 6.201: Chin Up Grip
Figure 6.202: Chin Up Starting Position
Figure 6.203: Chin Up Top Position
Wide Grip
Using a grip that is wider than shoulder width, but with no greater than a 45-degree angle of the forearms, will utilize the rhomboids posterior deltoids and upper/outer area of the latissimus dorsi
Figure 6.204: Wide Pull Up Grip
Close Grip
Using a narrower than shoulder width grip will utilize the lower latissimus dorsi with more help from the chest and biceps
Figure 6.205: Close Pull Up Grip
Towel Pull Up
Looping towels over the bar and grabbing the end using a neutral grip (palm facing in like you are shaking someone’s hand) will utilize the forearms more and help increase grip strength to a greater degree
Figure 6.206: Towel Pull Up Bottom Position
Figure 6.207: Towel Pull Up Top Position
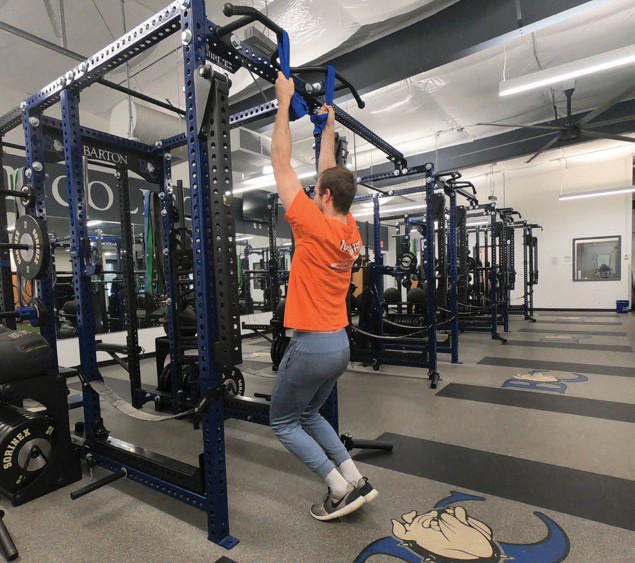
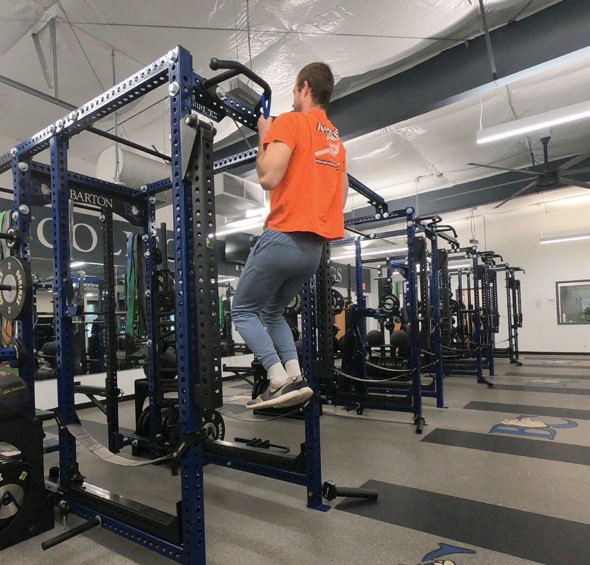
Assisted Pull Up
Using a counterbalance system, band or spotter assistant makes the exercise easier by decreasing the resistance being worked against to allow the exercise to be performed properly
Figure 6.208: Assisted Pull Up Bottom Position
Figure 6.209: Assisted Pull Up Top Position
Inverted Row
A bar at a lower height can be used to allow the feet to touch the ground
The steeper the incline of the body, the more resistance is utilized
Match the proper body angle based on the strength needs of the exerciser, allowing proper execution of the exercise and loading of the muscles